


How to Create a Self-Watering Seedling Tray DIY: A Step-by-Step Guide for Efficient Plant Growth
2025-01-07 01:58:15
Starting seeds and nurturing seedlings can be a rewarding but time-consuming process. One of the challenges gardeners face is maintaining consistent watering without risking overwatering or drying out young plants. A self-watering seedling tray offers a practical and efficient solution by ensuring your plants get the right amount of moisture automatically. In this comprehensive guide, we’ll walk you through everything you need to know about creating your own self-watering seedling tray with a DIY approach.
Why Choose a Self-Watering Seedling Tray
Convenience and Time-Saving
A self-watering seedling tray reduces the need for frequent manual watering. Once set up, it provides a continuous supply of moisture for your plants without the need for daily attention, allowing gardeners to focus on other tasks.
Consistent Water Supply
With a self-watering system, seedlings receive a consistent amount of moisture. This prevents issues related to irregular watering, such as root rot from overwatering or wilting from dehydration.
Resource Efficiency
Self-watering trays use water more efficiently by reducing evaporation. The water reservoir ensures that seedlings get moisture as needed, leading to less waste and better sustainability.
Materials You Will Need for Your DIY Self-Watering Seedling Tray
Before you get started, gather the following materials:
· A shallow tray (plastic, metal, or a repurposed container)
· A seedling tray or pot insert with small compartments
· A wicking material (cotton rope, felt, or fabric strips)
· A water reservoir (a larger tray or bucket)
· Drill or a sharp tool (for holes)
· Waterproof tape
· Planting soil and seeds
Step-by-Step Guide to Create a Self-Watering Seedling Tray
Step 1: Prepare the Water Reservoir
Start by selecting a suitable water reservoir. This could be a large shallow tray, bucket, or repurposed container. Drill or create small holes in the bottom of this reservoir to allow excess water drainage. Ensure that it’s deep enough to hold a significant amount of water, which will serve as the main moisture source for your seedlings.
Step 2: Set Up the Seedling Tray Inserts
Place your seedling tray or pot insert into the main tray. These inserts should have small compartments where you will plant your seeds. The compartments will help keep your seedlings organized and make it easy to manage different plant varieties.
Step 3: Attach the Wicking Material
Cut the wicking material to fit the size of your tray and attach it securely to the bottom of each seedling compartment. Cotton ropes, felt strips, or fabric pieces work well as wicks. The purpose of the wicking material is to draw water from the reservoir up into the seedling compartments as needed.
Step 4: Position the Seedling Tray in the Reservoir
Place the seedling tray insert into the water reservoir. Ensure that the wicking material touches the bottom of the water reservoir, allowing moisture to move upward. This ensures that water is consistently pulled up to the seedlings.
Step 5: Add Soil and Plant Seeds
Fill the compartments of your seedling tray with nutrient-rich soil. Plant your seeds according to the specific instructions for each plant variety. Gently press the soil down to ensure good seed-to-soil contact.
Step 6: Monitor and Adjust
Check your self-watering setup to ensure everything is functioning correctly. Observe the wicking material and adjust the setup if needed. You should see the soil staying moist without being overly wet.
Advantages of a Self-Watering Seedling Tray
Reduced Watering Frequency
The self-watering system maintains moisture automatically, minimizing the need for manual intervention. This is particularly useful for gardeners with busy schedules or those who travel frequently.
Better Root Health
Consistent moisture prevents issues like root rot and dehydration. The wicking system allows roots to absorb the right amount of water, promoting healthier, stronger plant growth.
Cost-Effective Solution
DIY self-watering seedling trays can be created using repurposed household items or inexpensive materials. This cost-effective method offers a sustainable solution without the need for high-end commercial products.
Eco-Friendly Approach
The self-watering system uses water more efficiently, reducing waste. The wicking material ensures that every drop of water is utilized optimally, aligning with eco-friendly gardening practices.
Tips for Optimizing Your Self-Watering Seedling Tray
Position Your Tray Wisely
Place your self-watering seedling tray in a location where it gets adequate sunlight. Most plants thrive with at least 6 hours of sunlight per day, which is crucial for healthy growth.
Use High-Quality Soil
Opt for nutrient-rich soil that retains moisture well. This helps support the health and development of your seedlings, ensuring better growth outcomes.
Regularly Check Your Water Supply
Although the system is self-watering, it's still important to check the water reservoir occasionally. Refill the reservoir as needed to ensure your seedlings always have access to sufficient moisture.
Experiment with Different Wicking Materials
Try various wicking materials like cotton ropes, felt, or fabric strips to find the most effective option for your setup. Each material has different water-absorbing capacities and durability.
Conclusion
Creating a self-watering seedling tray DIY is an excellent way to improve efficiency, reduce costs, and support sustainable gardening practices. With a self-watering system, you can ensure consistent moisture levels, healthier plants, and better resource management. Whether you’re a hobby gardener or a commercial grower, this DIY solution offers a reliable, eco-friendly, and cost-effective method for nurturing seedlings.
If you’re ready to revolutionize your gardening setup and save time while ensuring optimal plant growth, start building your self-watering seedling tray today. Embrace the power of efficient, sustainable, and cost-effective gardening with this simple yet effective DIY approach.
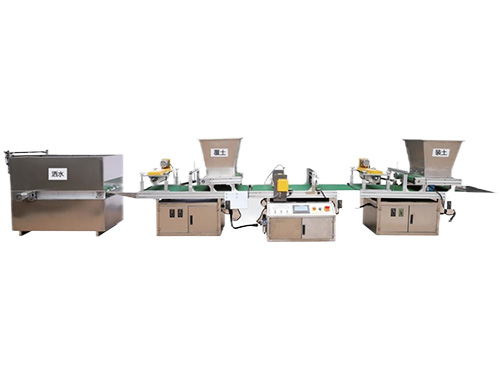
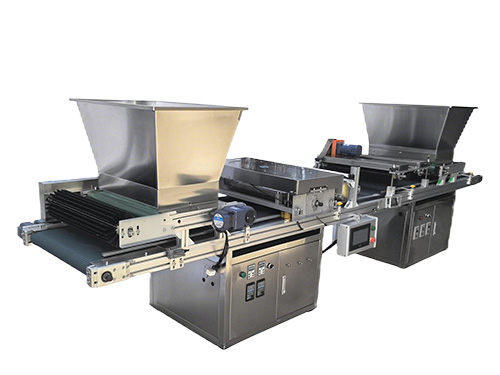
It adopts electrical integration and can be started by pressing the fully automatic button ...
The XP750 seeder has stable performance, excellent product quality, simple and convenient o...
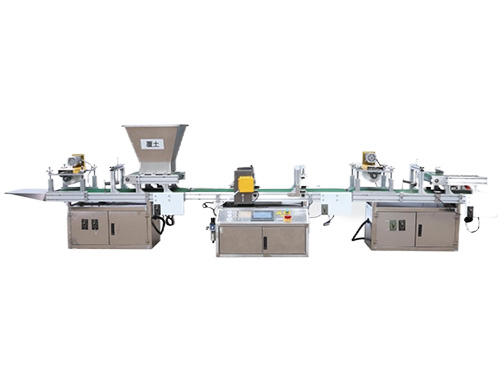
It adopts electrical integration and can be started by pressing the fully automatic button ...
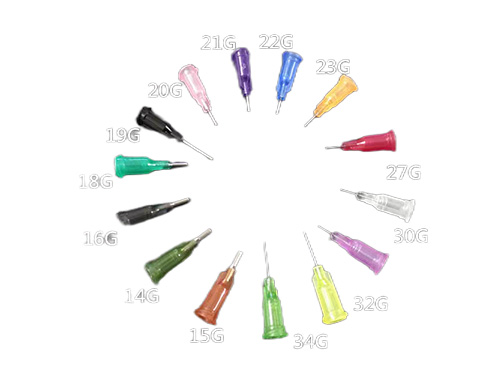
Needle list Seed nozzle model Different models Sowing types are different...