


How to Properly Clean Seedling Trays: A Step-by-Step Guide to Preventing Disease and Ensuring Healthy Growth
2025-02-12 08:16:58
Introduction: Why Proper Cleaning of Seedling Trays is Essential
Maintaining clean seedling trays is one of the most important steps in ensuring the healthy growth of your plants. Over time, seedling trays can accumulate dirt, mold, and bacteria that can lead to diseases, root rot, and other issues. Cleaning your trays thoroughly between planting cycles is essential to prevent the spread of pathogens and create an optimal environment for your seedlings. This step-by-step guide will show you how to properly clean seedling trays to prevent disease and promote healthy plant growth.
Step 1: Gather Necessary Cleaning Supplies
Before starting the cleaning process, gather the necessary cleaning materials. You will need:
· A brush or sponge
· Dish soap or non-toxic cleaner
· A disinfectant (e.g., bleach, hydrogen peroxide, or a commercial plant disinfectant)
· A bucket or tub for soaking
· Clean water
· Gloves (optional)
These supplies will help ensure your seedling trays are thoroughly cleaned and disinfected.
Step 2: Remove Debris and Soil Residue
The first step in cleaning your seedling trays is to remove any leftover soil, plant debris, or roots. Use a brush, sponge, or even a stick to scrub out any loose material from the trays. If the trays have been used for multiple planting cycles, this may take some time, but it’s crucial to remove all debris to avoid potential pests and pathogens.
· Tip: Turn the trays upside down and gently tap them to dislodge large chunks of soil. Use a brush to scrub away smaller bits of dirt that remain in the corners and edges.
Step 3: Wash with Soap and Water
Once you have removed the visible debris, wash the seedling trays with warm, soapy water to remove any remaining dirt and organic matter. Use a gentle, non-toxic dish soap that is safe for plants and the environment. A mild detergent will help break down any oils or residue left from the previous seedlings.
· Tip: Use a soft sponge or cloth to scrub all surfaces of the trays, including the bottoms and sides of each cell. Be thorough, as any remaining dirt can harbor bacteria and fungi.
Step 4: Rinse Thoroughly
After washing with soap and water, rinse the seedling trays thoroughly to remove any soap residue. Soap can leave behind a film that may interfere with plant growth, so it's important to rinse the trays under clean running water to ensure that no soap remains.
· Tip: Rinse until the water runs clear. You can also use a bucket or tub of clean water to soak the trays and ensure thorough rinsing.
Step 5: Disinfect the Seedling Trays
Disinfection is a critical step in the cleaning process. After washing and rinsing, you need to disinfect the trays to kill any lingering pathogens that could cause diseases in future plantings. There are several options for disinfectants:
· Bleach Solution: Mix 1 part bleach to 9 parts water. Soak the trays in this solution for about 10 minutes to disinfect them. Rinse thoroughly with clean water afterward to remove any bleach residue.
· Hydrogen Peroxide: A 3% hydrogen peroxide solution can also be used to disinfect the trays. Mix equal parts of water and hydrogen peroxide and soak the trays for 5–10 minutes.
· Commercial Disinfectants: There are also plant-safe disinfectants available in garden centers. Follow the manufacturer’s instructions for proper use.
· Tip: Always wear gloves when handling bleach or any strong disinfectant to avoid irritation. Make sure to disinfect the trays in a well-ventilated area.
Step 6: Dry the Seedling Trays
After disinfecting the trays, it’s important to allow them to dry completely before using them again. Moisture left on the trays can encourage the growth of mold and mildew, which could harm future seedlings. Place the trays in a sunny spot or use a clean towel to wipe them down.
· Tip: To speed up the drying process, you can place the trays upside down to allow air circulation, or use a fan to help dry them more quickly.
Step 7: Store Seedling Trays Properly
Once the seedling trays are completely dry, store them in a clean, dry place until you are ready to use them again. Storing them in a dry environment will help prevent mold growth and keep them in optimal condition.
· Tip: Stack the trays neatly, ensuring that they are not exposed to excessive moisture or dust. A storage area that is free from pests and moisture is ideal.
Common Mistakes to Avoid When Cleaning Seedling Trays
1. Skipping the Disinfection Step
While cleaning away dirt and debris is important, skipping the disinfection step can leave harmful pathogens behind. Always disinfect your seedling trays to kill any harmful organisms that may affect future plants.
2. Not Rinsing Enough After Using Bleach
Bleach is a powerful disinfectant, but it can be toxic to plants if not properly rinsed off. Ensure that you rinse the trays thoroughly to remove all traces of bleach or other chemicals before planting new seeds.
3. Using Harsh Chemicals
Avoid using harsh chemicals or cleaning products that may leave residues harmful to your plants. Always opt for natural, plant-safe cleaning agents or solutions like soap, hydrogen peroxide, or mild disinfectants.
4. Not Allowing Trays to Dry Completely
Storing seedling trays while still damp can lead to mold growth and the development of fungal diseases. Always ensure that the trays are fully dry before stacking them for storage.
Benefits of Properly Cleaned Seedling Trays
1. Prevention of Disease
The most significant benefit of regularly cleaning and disinfecting your seedling trays is the prevention of disease. Pathogens like mold, fungi, and bacteria thrive in dirty conditions, but cleaning and disinfecting the trays significantly reduces the risk of infection.
2. Better Seedling Health
Clean trays create a healthier environment for your seedlings to grow. Without harmful pathogens competing for resources or causing damage, your seedlings will have a better chance of thriving.
3. Improved Germination Rates
When trays are free of debris and pathogens, seeds can germinate more effectively. Clean trays allow for better water drainage and air circulation, which are crucial for successful seedling growth.
4. Extended Tray Lifespan
Regular cleaning and maintenance of seedling trays can help extend their lifespan. By removing dirt, algae, and debris that could degrade the material, your trays will last longer, saving you money on replacements.
Conclusion: Keep Your Seedling Trays Clean for Optimal Plant Growth
Cleaning seedling trays may seem like a simple task, but it plays a crucial role in the health of your plants. By following these steps—removing debris, washing with soap and water, disinfecting with a safe solution, and drying thoroughly—you can ensure that your seedling trays are free of harmful pathogens and ready for successful use in future plantings. Taking the time to clean and maintain your seedling trays will promote healthier seedlings, prevent disease, and ultimately lead to a more productive garden.
Our state-of-the-art Vegetable and Flower Seedling Seeder is designed to streamline your se...
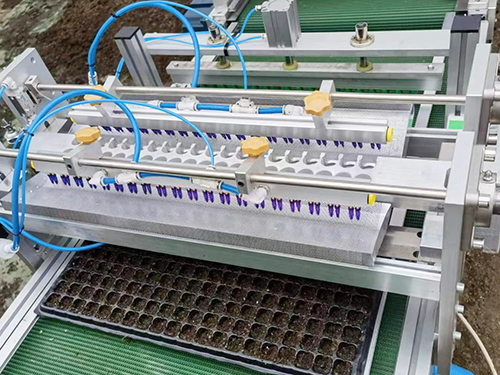
The vegetable seed seedling pressing equipment is a new seedling raising device....
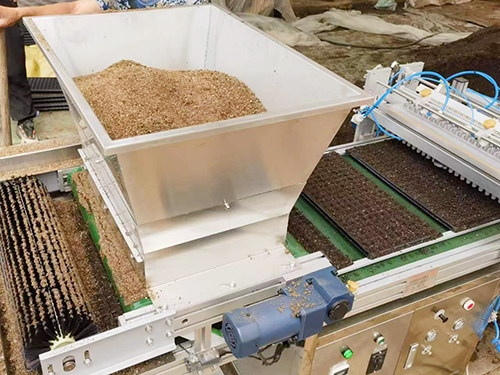
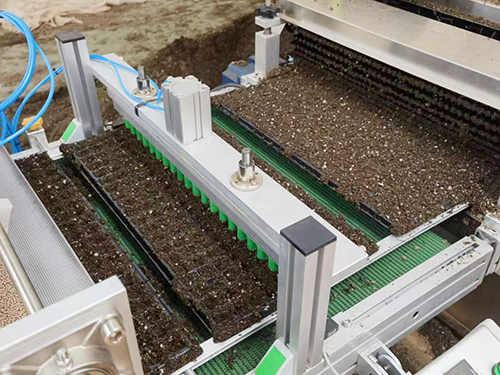
The operation process of the automatic plug tray seedling seeder is to distribute the subst...
The Root Control Container for Landscaping Seedlings represents a groundbreaking advancemen...